Previously I updated a post Add your favourite folder in "Send To" Menu stating the way of adding your needed folder in the Send To options for fast Sorting your Stuff.
Here’s yet another and more usable way for fast arranging your stuff.
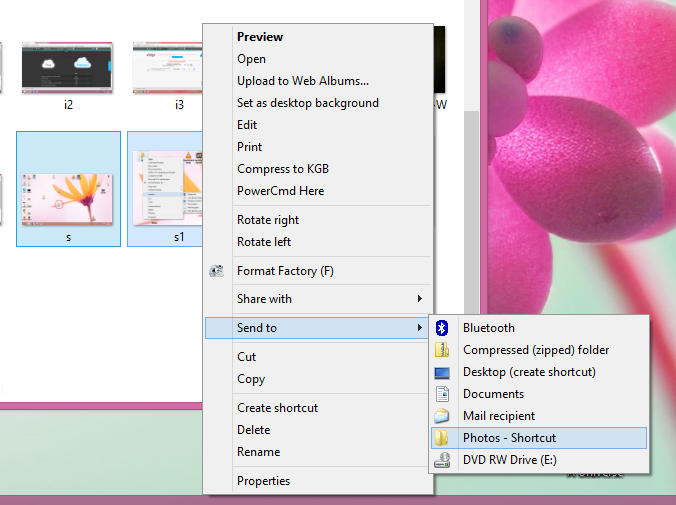
Here I will show you how to add “Move To” and “Copy To” option in the Right Click menu, so that when you want to move or copy to another folder just right click on that file/folder and click on Copy To/Send To option and select the folder in the Window that opens to directly move/copy your stuff.
The Steps are as follows.
To Add “Move To” option
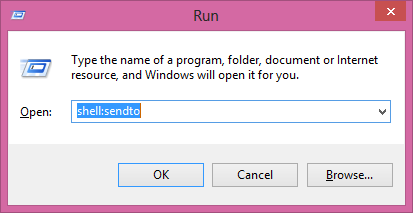
- Press Windows + R, to open the Run Command.
- Type regedit.exe and press enter
- The registry editor will open.
- Now navigate to the following path in registry editor
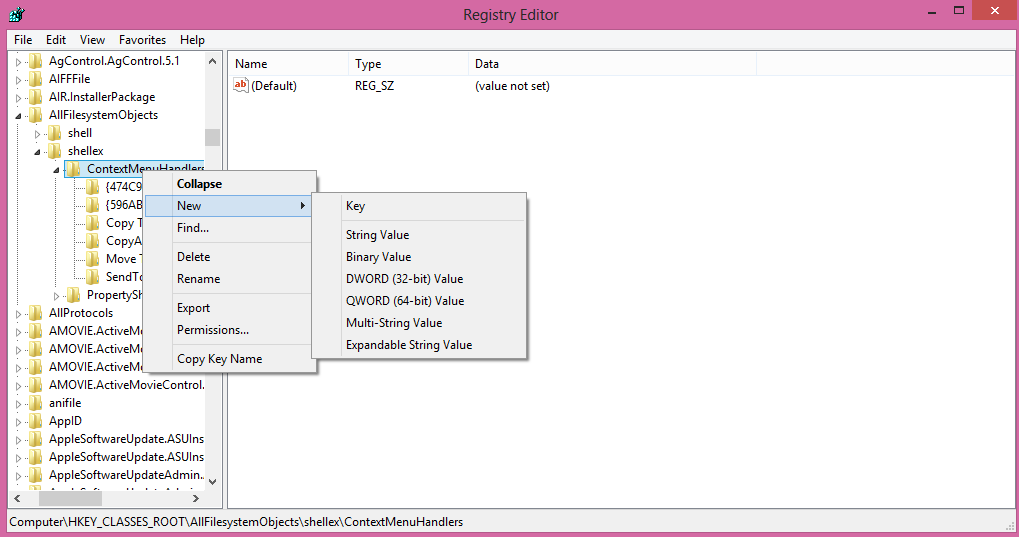
- Right Click on the “ContextMenuHandlers” and select New à Key and name it as “Move To”
- Now click on the “Move To” and you will see a file named as Default in the Right side window.
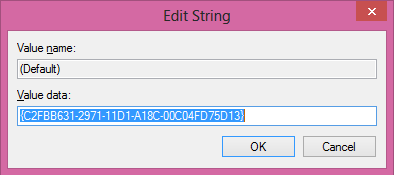
- Double click on the Default File and Enter the following Value.
- Press Ok. And you are done.
To Add “Copy To” option
- Press Windows + R, to open the Run Command.
- Type regedit.exe and press enter
- The registry editor will open.
- Now navigate to the following path in registry editor
- Right Click on the “ContextMenuHandlers” and select New à Key and name it as “Move To”
- Now click on the “Copy To” and you will see a file named as Default in the Right side window.
- Double click on the Default File and Enter the following Value.
- Press Ok. And you are done
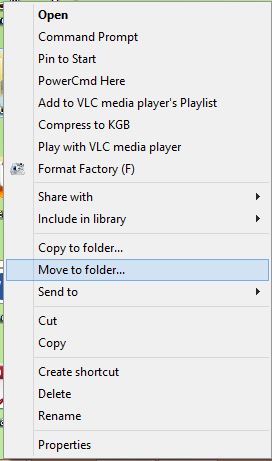
Now right click on the file/folder you want to Move/Copy and select “Move To”/”Copy To” and browse to the destination folder and click Move/Copy. And you are Done.

For more such posts and tricks, connect with us on Facebook.